
No camera needed
Make Your Own
AI Clone Video
You can make an AI clone video of yourself without ever turning on a camera: a realistic AI image of you, your cloned voice, and an AI animation tool, finished with a clean edit. This guide walks through the exact 13-step process I used for my own AI clone Reel, from the first photo to posting.
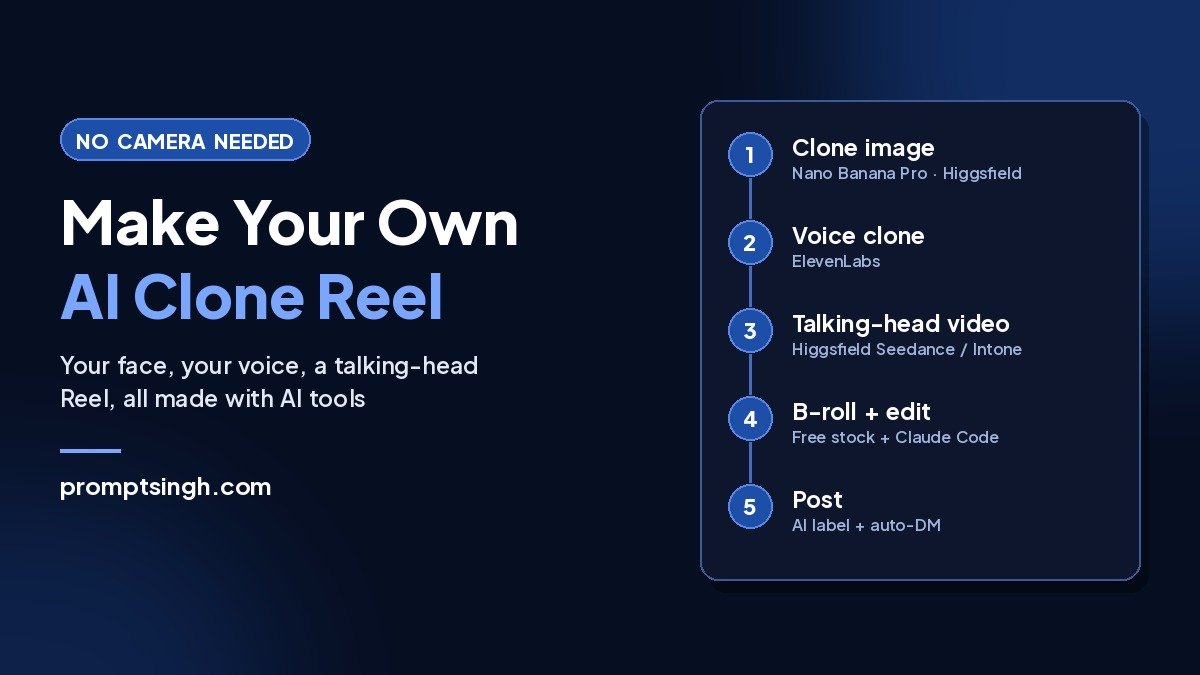
| Stage | Tool used | What you get |
|---|---|---|
| Clone image | Nano Banana Pro, Higgsfield Soul or Flux Kontext | A realistic photo of you in a creator setup |
| Voice clone | ElevenLabs (paid plan, Eleven v3 model) | Your voice reading any script |
| Animation | Higgsfield (Seedance 2.5, or Intone for premium) | A lip-synced talking-head clip |
| B-roll | Pexels, Pixabay or Mixkit | Free stock cutaways |
| Edit, sound, cover | Claude (Claude Code or Claude chat) | The finished Reel and cover |
Plan on 2–3 hours for your first Reel. After the one-time setup (image and voice), each new Reel takes about 30–45 minutes.
Before you start: only clone yourself. Use your own face and your own voice (ElevenLabs asks you to verify your voice), and label the Reel as AI when you post. Most of these tools use paid credits.
On this page
Steps 1–2: Create your AI clone image
Step 1: Make a character sheet
Take 4 clear photos of yourself against a plain wall: front, left side, back and right side, in good even light. Add one sharp front-facing portrait. These become your identity references.
Step 2: Generate the creator-setup image
Upload your front portrait and the character sheet as references. Don’t upload another creator’s photo for style, or the model may blend their face into yours; describe the setup in words instead.
Use the uploaded reference images as the exact identity of the person: same face, eyes, nose, eyebrows, beard, skin tone and hairstyle or headwear. Keep facial features 100% identical.

Scene: A photorealistic vertical 9:16 frame from a content creator's reel. He sits on a black ergonomic mesh chair, framed from mid-chest up, leaning slightly forward and speaking directly to the camera, mouth slightly open mid-sentence. One hand holds a small wireless microphone near his chin; the other makes a natural explaining gesture.

Environment: a dark, moody home studio with charcoal walls, a window with closed blinds, a small plant and a warm amber lamp behind the chair.

Lighting: soft cool key light from the front-right, warm rim light from the lamp behind, background falling into shadow.

Camera: full-frame, 35mm lens at f/1.8, shallow depth of field, natural skin texture with visible pores, subtle film grain. It should look like a real frame from a phone-recorded reel, not a glossy AI render.
If your tool supports a negative prompt, add:
different face, plastic skin, over-smoothed, extra fingers, deformed hands, distorted microphone, text, watermark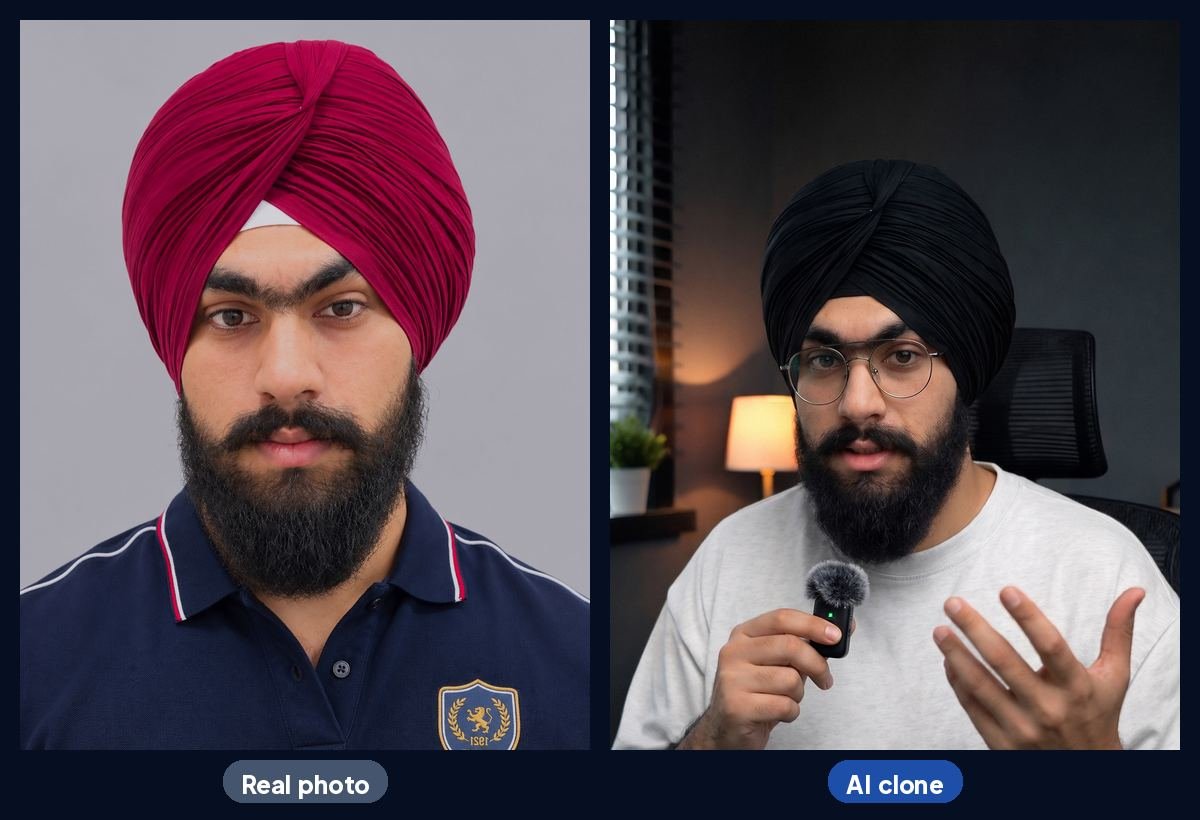
Review it honestly before moving on. Compare it with your real photos and check for these common drifts:
- Accessories you don’t wear added, or ones you do wear (like glasses) left out
- Uneven eye colour
- Facial hair or hairstyle changed
- A wider or smoother face than yours
- Lighting that doesn’t make sense, such as a bright window in a dark room
Fix problems with an edit prompt rather than starting over:
Edit this image. Keep the pose, hands, microphone, outfit, room and framing exactly the same. Make both eyes the same dark brown colour. Dim the window to soft evening light.Steps 3–4: Clone your voice
Step 3: Record a 4–5 minute voice sample
The clone copies how you sound in the sample, so read a script written in your real Reel style: your language mix, energy and phrases. A good sample script covers an intro, a short personal story, a teaching section, a range of emotions (excited, serious, curious, calm) and an outro.
- Record in a quiet room with soft furnishings; switch off fans and AC.
- Use the same mic you use for real Reels, about a hand’s width from your mouth.
- Speak like you’re talking to a friend on camera, not reading.
- Trim long silences, then export as WAV or high-quality MP3.
Step 4: Create the clone in ElevenLabs
Go to Voices → Add voice → clone, upload the sample and verify it’s your voice. A paid plan is needed for commercial use. Instant cloning works with 1–3 minutes of audio; Professional cloning needs 30+ minutes and sounds closer to you.
Generate with the Eleven v3 model, which understands tone tags. These settings gave a natural delivery:
| Setting | Value | Why |
|---|---|---|
| Stability | 0.55–0.6 | Lower values (around 0.4) sounded over-expressive |
| Similarity | 0.8 | Keeps it sounding like you |
| Style exaggeration | 0–0.1 | Avoids theatrical delivery |
Use mild tags such as [warm], [conversational], [confident] and [slight smile] for most lines. Save [excited] or [laughs] for at most one moment per Reel. Fewer exclamation marks also calm the delivery.
Steps 5–6: Write the script and prepare the audio
Step 5: Write a 15–20 second script
Short clips animate more naturally and cost fewer credits. Use this four-part structure:
- Hook: speak to the viewer’s problem in the first line.
- Empathy: show you understand it.
- Reveal: the twist (here, “this Reel was made by my AI clone”).
- Call to action: one keyword to comment.
The script I used (Punjabi + English, in Roman script):
[warm] Tusi vi content creation shuru kar sakde ho. [short pause] Camera face karan da dar real hai, main samajh sakda haan.

[confident] Par hun tusi aapne aap nu clone kar sakde ho. Aapni shakal, aapni awaaz, AI naal.

[conversational] Te sach dassan? Eh reel vi meri AI clone ne banayi hai.

[slight smile] Je tusi sikhna chahunde ho ki main eh kiwein banaya, toh comment karo "CLONE", full guide DM vich bhej danga.
Keep the hook honest. If you used to film yourself, don’t open with “I’ve never recorded a reel”; your followers know better, and it costs trust.
Step 6: Generate and trim the audio
Generate 2–3 takes and pick the most natural one. Listen for mispronounced words and respell them the way they sound if needed. If the clip runs long, shorten the gaps and speed it up slightly: my 18.8-second take became 14.6 seconds by cutting each pause to about 0.14 seconds and speeding up to 1.12× with the pitch unchanged.
Steps 7–8: Animate your AI clone
Step 7: Generate the talking-head clip in Higgsfield
| Model | Best for | Notes |
|---|---|---|
| Seedance 2.5 (Omni Reference) | Regular Reels on a budget | Image as start frame and your audio as reference; 720p; try Draft mode first; turn “generate audio” off |
| Higgsfield Intone | Important videos | Built for talking heads; up to 30 s of audio; higher credit cost |
He sits in his chair and talks directly to the camera in a relaxed, conversational way, like a creator recording a reel. He maintains steady eye contact with the camera lens, only glancing away briefly. Natural small head movements, occasional blinks, subtle eyebrow raises on key words. He holds the microphone steady near his chin; his free hand varies its gestures: sometimes resting, sometimes an open palm, sometimes pointing lightly. Single static shot, no camera movement, no cuts. Same room, same lighting.Step 8: Review the clip
Generate 2–3 versions and check each one:
- Eye contact: eyes on the lens most of the time, not looking down at the mic
- Gestures vary rather than repeating the same loop
- Lip sync matches on tricky words
- Headwear, beard and hair edges stay clean while moving
- The hand on the mic doesn’t morph
Steps 9–10: Add B-roll and edit
Step 9: Collect B-roll
Cutaways hide the moments where an AI face looks less natural. Download free clips from Pexels, Pixabay or Mixkit, matched to your script lines:
- Filter by portrait orientation so clips aren’t cropped heavily.
- Pick darker, moody clips that match your setup; bright clips can be darkened in the edit.
- Prefer hands, screens and equipment over faces, and keep any shot with another person’s face to 1–1.5 seconds.
- Use each clip only once.
Search terms that worked: phone tripod setup, content creator setup, nervous in front of camera, face scan technology, typing on phone.
Step 10: Build the edit
Open on your face for the first 1–2 seconds as the hook, then keep your face on screen for only about a third of the Reel, in short bursts. My 14.6-second Reel was cut like this:
| Time | Shot | On-screen text |
|---|---|---|
| 0–1.75 s | Your face (hook) | Tusi vi / CONTENT CREATION |
| 1.75–2.95 s | B-roll: stressed person | Camera face karan da / DAR |
| 2.95–3.8 s | B-roll: creator at desk | main samajh sakda haan |
| 3.8–5.5 s | B-roll: phone on tripod | CLONE (glitch) |
| 5.5–7.2 s | Motion graphic: Your Image / Your Voice chips | AI NAAL |
| 7.2–9.6 s | Your face (reveal) | AI CLONE |
| 9.6–11.8 s | Motion graphic: 1-2-3 steps | Kiwein banaya? |
| 11.8–13 s | Your face | Comment karo chip |
| 13 s–end | Comment box typing CLONE | Full guide → DM |
The finishing touches that make it look professional:
- Kinetic captions: words pop in one at a time, with small white connecting words and one big keyword per line in an accent colour.
- Zoom punches on key words and a glitch transition on the reveal moments.
- A REC viewfinder overlay (corner brackets, red dot, timecode) on face and B-roll shots.
- Instagram safe zone: on a 1080×1920 frame, keep text inside 250 px from the top, 420 px from the bottom, 70 px from the left, and 193 px from the right in the lower half where the like and comment icons sit. Keep captions below your chin.
- On-screen labels in English (for example “Your Image”, “Your Voice”) even when the voice is in another language; viewers scan English labels faster.
- Light film grain over everything, so B-roll and AI footage feel like one camera.
I built this edit with Claude, which wrote and rendered the captions, motion graphics and effects in code. Claude Code can do the same from your project folder. New to Claude skills? See the 10 best free Claude skills for creators.
Steps 11–13: Sound, cover and posting
Step 11: Sound design
Sound effects are seasoning; your voice always comes first.
- Use soft whooshes on cuts, pops on keywords, quiet ticks as words appear, a short glitch sound on glitch transitions, dings on UI chips, and a riser into the reveal.
- Keep the cut whoosh soft. Played 8 times in 15 seconds, a loud whoosh was the most distracting sound in my first mix and had to come down by about 10 dB.
- Add ducking so effects automatically dip whenever you speak.
- Normalise the final mix to about -14 LUFS, Instagram’s standard loudness.
- Skip background music in the edit; add trending audio inside Instagram at 10–15% volume instead.
Step 12: Design the cover
A strong cover tells the story in one glance. Mine used a split face (normal on one half, a glitchy “digital clone” treatment on the other), a face-scan frame with a “CLONING 87%” tag, the headline “MAKE YOUR OWN AI CLONE”, a “NO CAMERA NEEDED” pill, and a “1 Image → 2 Voice → 3 Video” bar. Instagram crops covers to 3:4 on your profile grid, so keep the headline and face inside the middle 1080×1440 area.
Step 13: Post it
- Turn on Instagram’s AI label, and be open that the Reel is made by your AI clone.
- Upload the cover: Edit cover → Add from camera roll.
- Write a caption with the comment keyword, for example “Comment CLONE for the full guide”.
- Set up an auto-DM tool (like SuperProfile) to send the guide link when someone comments the keyword.
- Add trending audio at low volume.
- Watch once on your phone to check captions sit clear of Instagram’s buttons.
Want 25 more free AI prompts?
Get my free Starter Prompt Pack: 25 copy-paste prompts for AI photos, videos and ChatGPT, sent straight to your inbox.
Want personal help?
Book a 1:1 AI video session with me on Google Meet. We’ll fix your prompts or build your workflow together.
See 1:1 sessionsFound this useful?
Share it with a friend, or get new AI prompts and trends first on my WhatsApp channel.
FAQ
Can I make an AI clone video of myself for free?
Not fully. You can create the clone image with free tools like Google Gemini, but realistic voice cloning (ElevenLabs) and talking-head animation (Higgsfield) need paid plans or credits. After setup, each Reel costs only a few credits.
Is it legal to make an AI clone of yourself?
Cloning your own face and voice is fine. Never clone another person without their clear permission, and label your Reels as AI-made when you post them.
How realistic does an AI clone video look?
Very realistic in short clips, especially with good reference photos. Keep Reels under 20 seconds and use B-roll cutaways to hide any moments where the face looks less natural.
How long does it take to make an AI clone Reel?
About 2–3 hours for your first one, including the one-time image and voice setup. After that, each new Reel takes about 30–45 minutes.
Do I need to know video editing?
No. I edited mine with Claude, which wrote the captions, effects and sound design in code. You can also use CapCut or Instagram’s Edits app.