
Beginner’s guide · 6 simple steps
How to Make
Realistic AI Videos
I make realistic AI videos every week for my Instagram, @jasdeep.ai, and for brands. In this beginner-friendly guide, I’ll show you my exact workflow, from the first frame to the final edit, with the prompts I use and the mistakes that make AI videos look fake.
In this guide
What you’ll need to make realistic AI videos
- An image model for your first frame: Nano Banana Pro, GPT Image 2 or Seedream 5.0. I try all three and keep the best result.
- A video model to animate it: Seedance 2.5 or Kling 4.0.
- A video upscaler, for the clips you want to keep.
- A video editor for the final cut and sound.
You can try all of these tools in one place on Pollo AI. (Affiliate link: if you sign up through it, I may earn a small commission at no extra cost to you.)
Step 1: Plan your shots before you generate
Realistic AI videos start with a simple plan. Pick one location, one small event and one or two characters. For example: a man waits on a subway platform, hears the train arriving and turns to look.
Plan three shots: a wide shot to show the place, a medium shot for the action, and a close-up for the reaction. Choose one aspect ratio and keep it for every shot: 9:16 for Reels and Shorts, or 16:9 for YouTube.
Write down your character’s face, hair, outfit and accessories, plus the time of day and where the light comes from. If you want the same character across many videos, create a character sheet first with my AI character reference sheet prompt.
Step 2: Create a realistic first frame
Your video can only look as real as its first frame. I run the same prompt in Nano Banana Pro, GPT Image 2 and Seedream 5.0, then compare the results side by side. Each model handles faces, skin and light a little differently, so the best one changes from character to character. Start at 2K resolution if the tool offers it.
Fill in the [brackets] in this prompt:
A realistic, live-action cinematic photo of [your character: face, hair, outfit] at [location], about to [one simple action]. [Shot size, e.g. medium shot], camera at eye level. Lit by [a visible light source, e.g. overhead station lights], with natural shadows and soft highlights. Real skin texture with pores, natural hair strands, fabric creases and small signs of wear in the background. [Time of day and weather]. Subtle colour grade, shallow depth of field, [9:16 or 16:9]. Keep the face and outfit from my reference images. No text, no logos, no beauty filter.Describe real physical details instead of stacking words like “ultra-realistic” or “8K”. Details are what make an image believable.
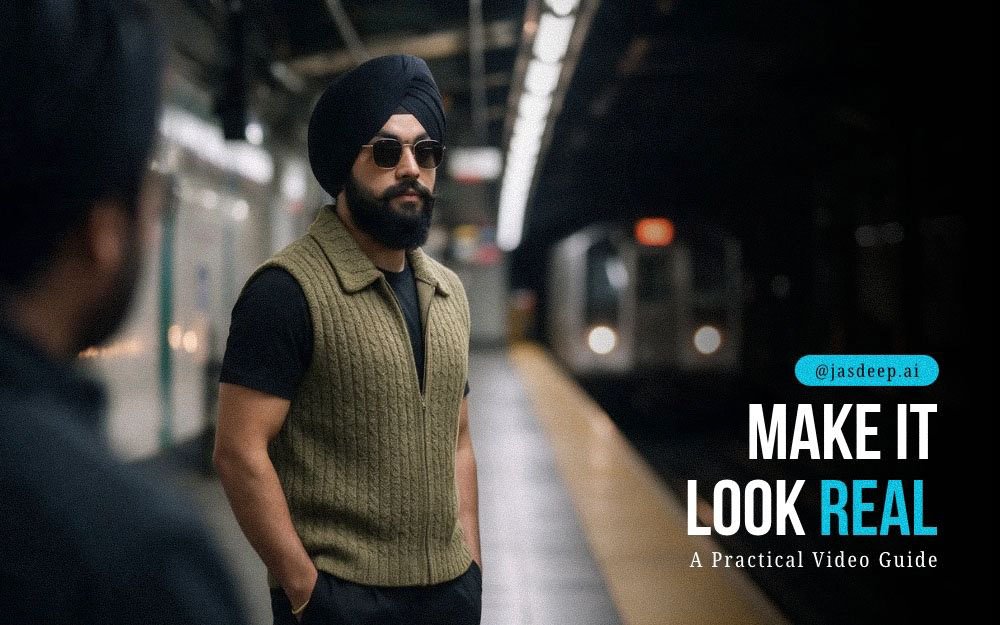
The prompt I used for this image
I made this prompt in seconds with my free AI prompt builder: I chose Image, picked the style, lighting, camera and colour options, and attached a photo of myself as the reference.
Create a horizontal image (16:9) of a Sikh man standing at a subway station. [Attach your reference photo]
Style: cinematic film look, shallow depth of field, subtle film grain.
Lighting: moody low-key lighting.
Camera: over-the-shoulder shot.
Colour: high contrast.
Avoid: fake look.
A more detailed version
Want more control? Here’s a fuller version of the same prompt. Replace the [brackets] with your own character and scene.
Create a horizontal image (16:9) of [your character: face, hair or headwear, outfit, accessories] standing on a subway platform, looking towards an arriving train. [Attach your reference photo]
Style: cinematic film look, shallow depth of field, subtle film grain, documentary feel.
Lighting: moody low-key light from the long fluorescent tubes in the platform ceiling, with the train's headlights and red marker lights glowing in the background.
Camera: over-the-shoulder shot at eye level, with a blurred commuter's shoulder in the foreground.
Colour: high contrast, muted olive and warm green tones, deep blacks.
Details: tiled walls, a yellow platform edge, overhead signs, an orange LED display, blurred commuters, real fabric and skin texture.
Avoid: fake look, plastic skin, text or logos.
Step 3: Fix small defects, one at a time
Before you animate anything, zoom in and check the eyes, teeth, hands, the edges of objects, reflections and the background. Small mistakes in the first frame become big mistakes once it moves.
Fix one problem per request, with this prompt:
In the attached image, fix only [one problem, e.g. the left hand has an extra finger]. Keep everything else exactly the same: the person's face, outfit, pose, framing, lighting and background.Once you’re happy with the frame, use it as the reference for your other shots. Change only the framing, and keep the character, outfit, location and light the same. Save each shot as its own image.
Step 4: Animate one shot at a time
Upload your first frame to Seedance 2.5 or Kling 4.0 and generate a 5-second test at a lower resolution, like 720p. Low-resolution tests are faster and use fewer credits, so you can try more ideas.
Animate the attached image as one continuous 5-second shot. [Your character] [one simple action, e.g. slowly turns to look at the arriving train], with natural timing, gentle breathing and realistic weight. The camera [stays still / slowly pushes in]. Keep the face, outfit, location and lighting exactly as in the image. Add one small background movement: [e.g. light rain falling]. No cuts, no zooms, no new objects, no exaggerated expressions.Keep the first movement small and simple. Big, fast actions are where AI video breaks first. Leave out dialogue in your first test, so you can judge the movement on its own.
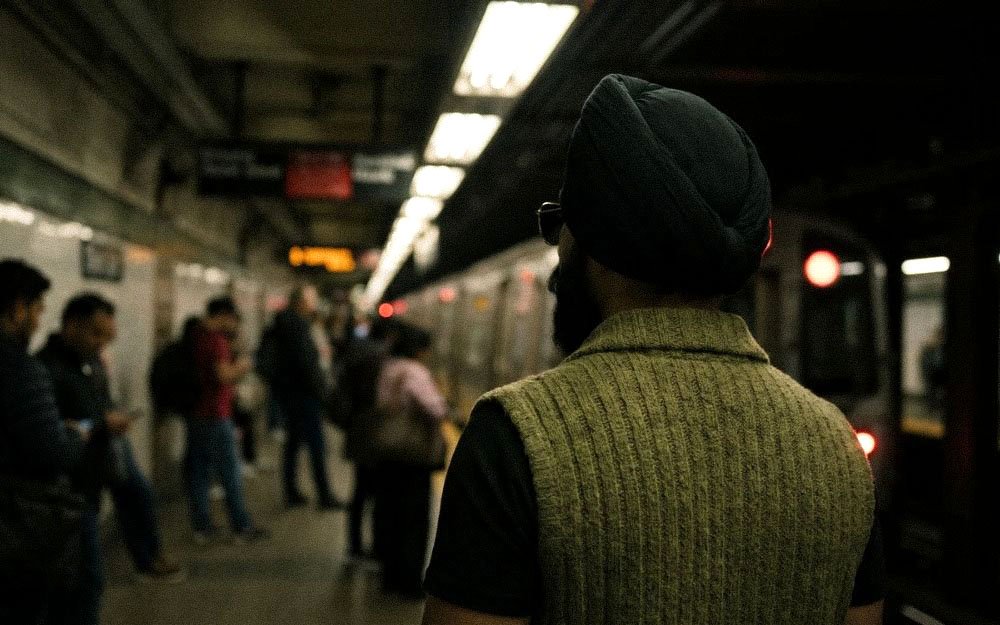
The prompt I used for this video
I made this clip in Kling 4.0 from my first frame. Here’s the exact prompt and negative prompt I used. To use it, replace “the Sikh man” and the outfit details with your own character.
Smooth tracking shot, camera follows directly behind the Sikh man at shoulder height, keeping the same distance as he walks. He walks forward naturally along the subway platform with a relaxed, steady pace, his back to the camera and his head facing forward the whole time. The train on the right slowly pulls into the station with motion blur and red lights streaking. Commuters in the background shift subtly, checking phones and stepping slightly. Slight slow motion at the start, easing into real-time. Realistic cinematic follow-cam, gentle natural sway, shallow depth of field, moody low light, 35mm film look, natural fabric movement on his vest.

Negative prompt:
static camera, camera stops, camera overtakes him, zoom in, orbit, turning head, looking back, face visible, profile turn, jerky motion, heavy camera shake, morphing, distorted body, warped hands, deformed turban, flickering, people walking toward camera, crowd staring at camera, fast motion, sliding feet, unnatural walk, text, watermark
Notice how the negative prompt lists everything that could go wrong in a tracking shot: the camera stopping or overtaking him, his head turning, sliding feet and a warped turban. Naming the likely mistakes is one of the easiest ways to make AI video look real.
Step 5: Upscale only the clips you love
Watch each test at normal speed, then look closely for sliding feet, changing faces, bending objects and flickering textures. If something looks wrong, simplify the action or the camera move and generate again.
When a test looks right, upscale it with a video upscaling tool to get a sharp final version. Upscaling makes a good clip sharper, but it can’t fix a face that changes or motion that looks wrong, so only upscale the clips you’re happy with.
Step 6: Edit, add sound and export
Put your clips together in your video editor: wide shot, then medium, then close-up. Trim any shaky frames at the start and end, and match the brightness and colour between shots.
Sound makes a huge difference to realism. Add one continuous background sound, like station noise or rain, plus a few well-timed effects such as footsteps. Export as MP4 in your chosen aspect ratio, then watch it once more from start to finish before you post.
Common mistakes to avoid in realistic AI videos
- The face slowly changes between shots or during movement.
- Feet slide across the floor instead of stepping.
- Hands, teeth or small objects bend or melt.
- Skin looks plastic because of too much smoothing.
- The camera moves too much, or too fast.
- Shadows move on their own, or don’t match the light source.
- The prompt is full of buzzwords instead of real details.
Frequently asked questions
Which AI tool makes the most realistic videos?
It depends on your character and scene. I test the same first frame in both Seedance 2.5 and Kling 4.0, then keep whichever looks more natural. For realistic AI videos, the quality of your first frame matters more than the video tool.
Why should I generate in low resolution first?
Low-resolution tests are faster and use fewer credits, so you can try more ideas. Once a clip looks right, upscale it to get a sharp final version.
How do I keep my character consistent across shots?
Use the same reference images every time, describe the same outfit and accessories in every prompt, and build each new shot from your approved first frame. A character reference sheet helps a lot.
Can I make realistic AI videos for free?
Most AI image and video tools offer free credits or trials, but the limits change often. Check each tool’s current plan before you start a big project.
Want personal help?
Book a 1:1 AI video session with me on Google Meet. We’ll fix your prompts or build your workflow together.
See 1:1 sessionsMore AI video prompts
Want to try a ready-made workflow for realistic AI videos? Use my Gangnam Style AI video prompt or my AI lip-sync video prompt, or browse the free AI prompt library.